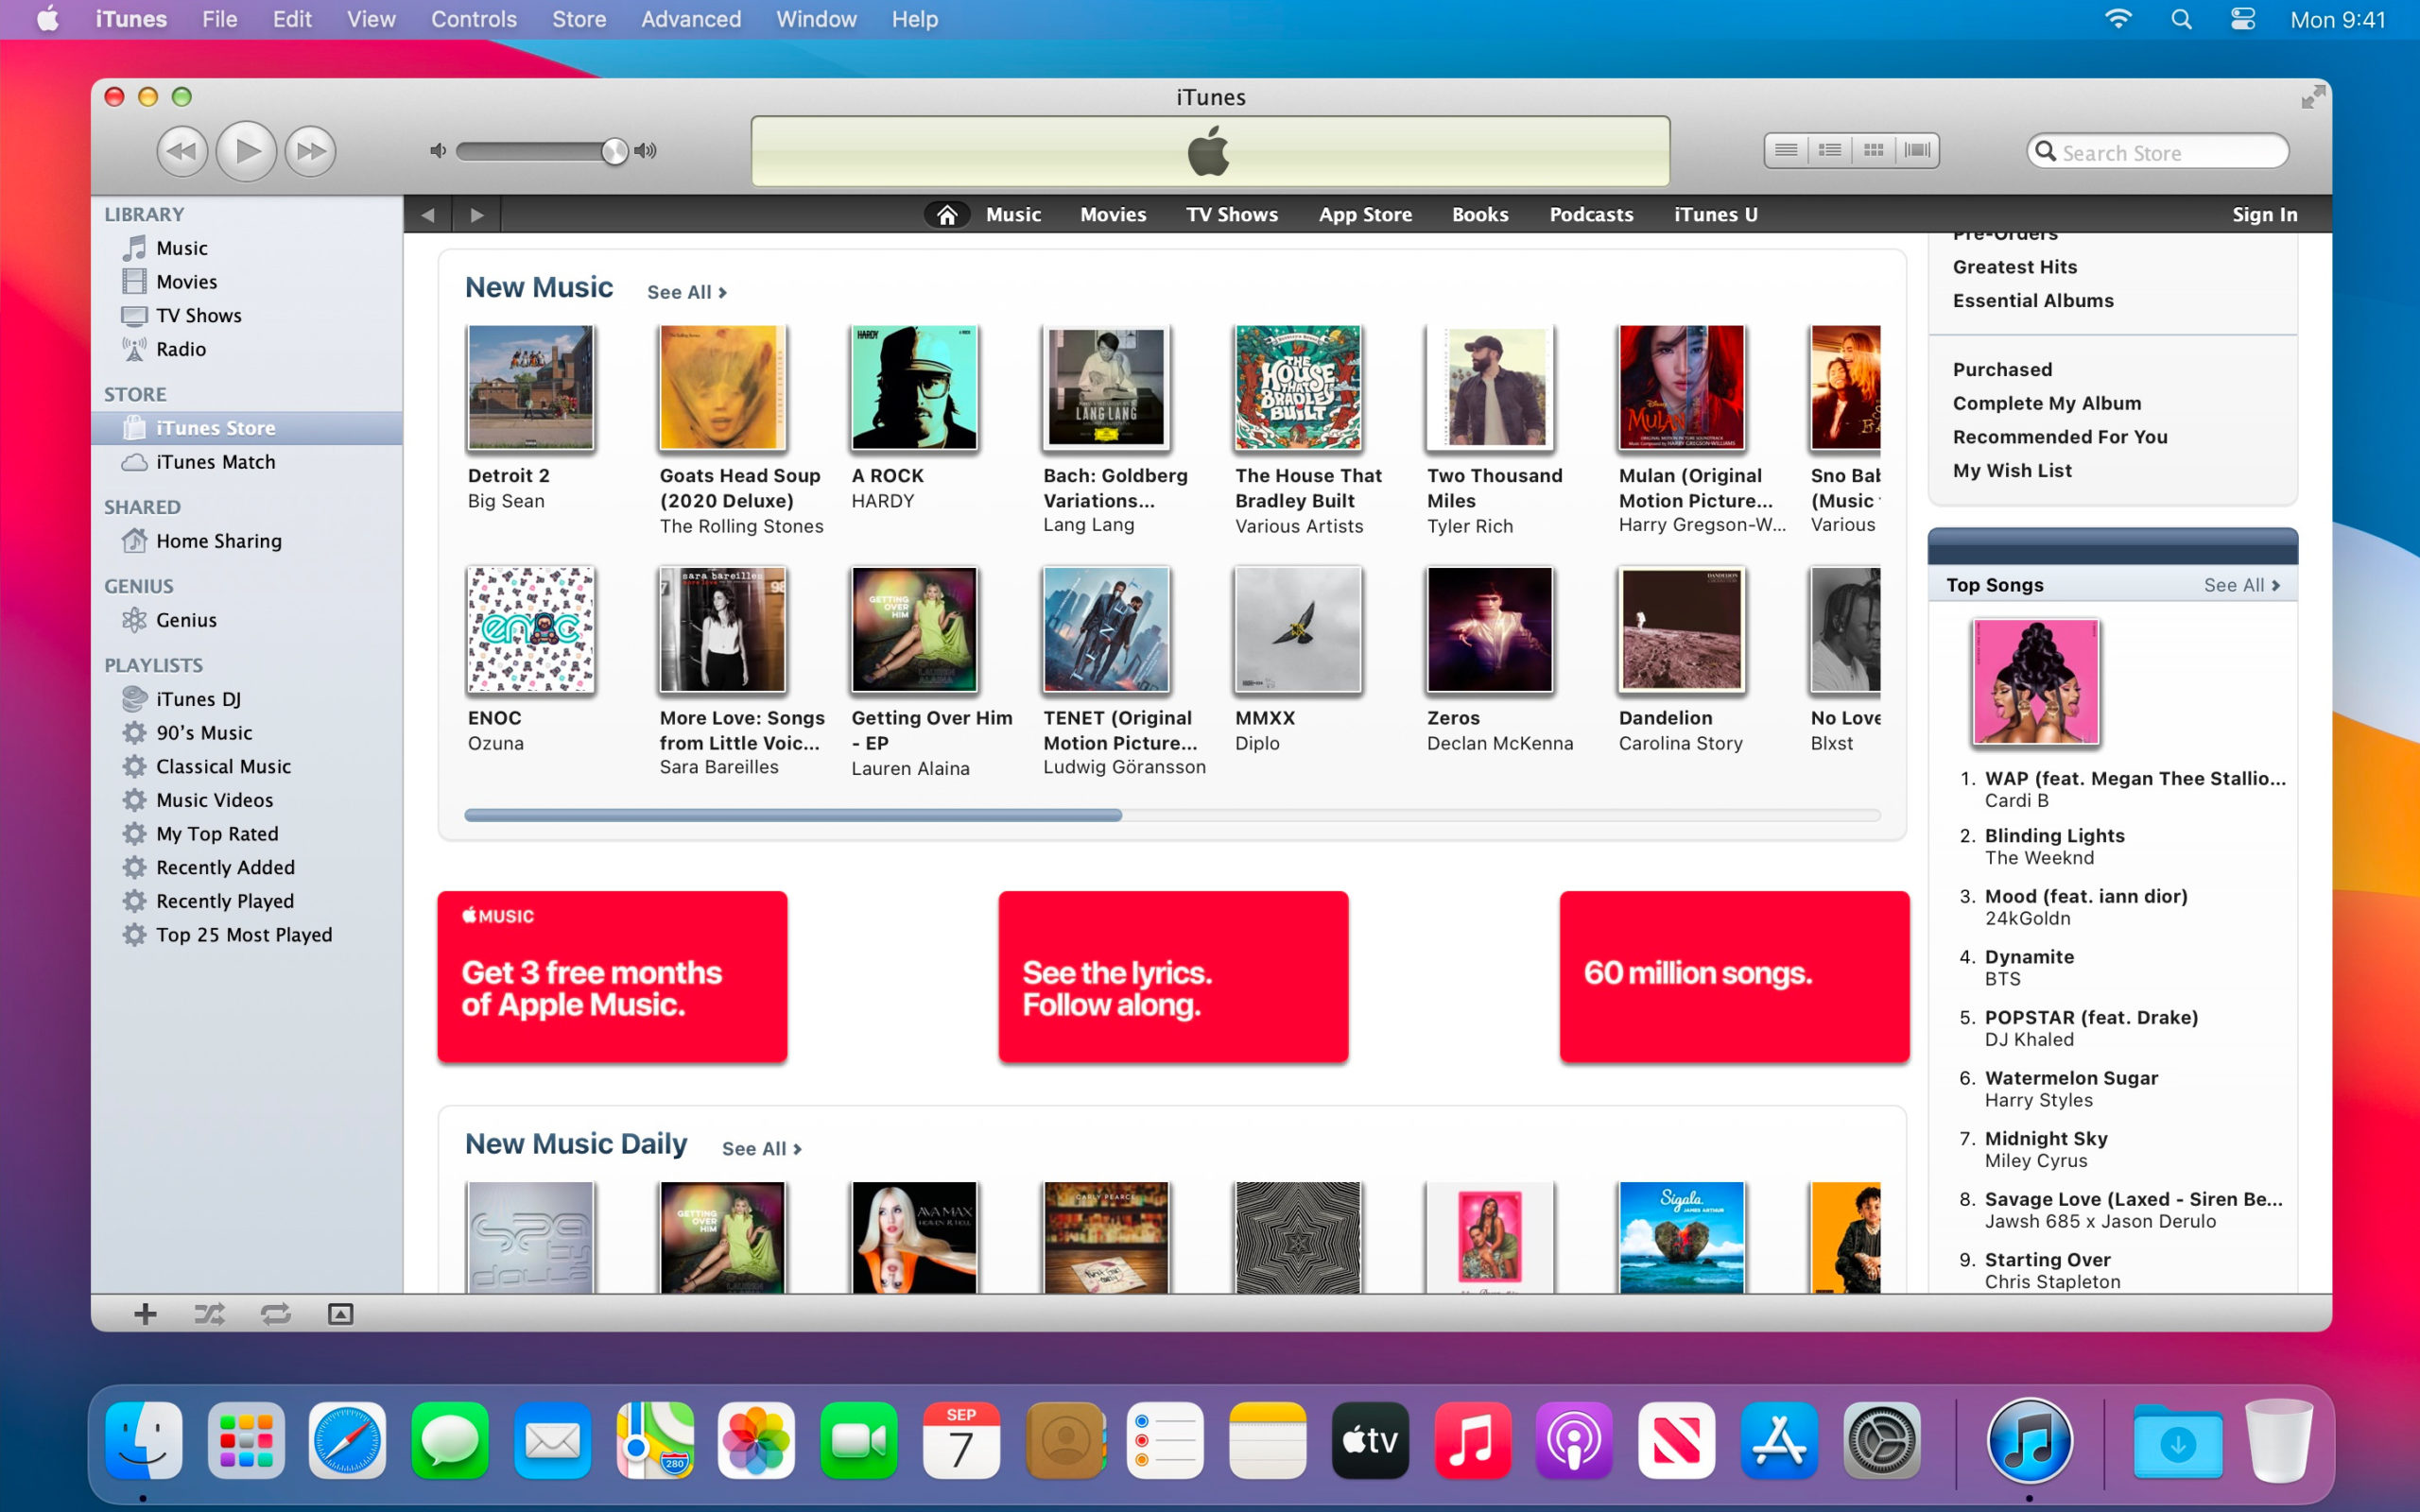
Apple dropped support for iTunes in favor of Apple Music, but that isn’t stopping some people from continuing to use it. If you use macOS Big Sur (macOS 11 or earlier), you can still jump through a few hoops if you want to run your favorite music app.
Note: If you’re not comfortable with non-standard software and installers, it’s best to use Apple Music instead.
In order to get iTunes to work, we will be running a piece of software called Retroactive, which will allow us to install iTunes, Aperture, or iPhoto.
Installing iTunes on macOS Big Sur
Step 1: Download and install Retroactive using this link.
Step 2: Navigate to Retroactive in the Finder. Right-click on the Retroactive app icon, and choose Open.
Step 3: Click Install under the iTunes icon, and click Continue to install iTunes.
Authenticating iTunes on macOS Big Sur
You now have iTunes installed on your Mac, but it won’t run if you try to open it. First, we need to authenticate iTunes.
Step 1: Click Authenticate.
Step 2: Enter the password you use to login to your computer.
Step 3: Wait is it configures the app.
Step 4: (Optional) Grant iTunes disk access (only needed if you plan on synching an iPod through iTunes).
Step 5: Click Launch iTunes.
Easy, right? One thing to note: While iTunes will run on Big Sur, it won’t run on macOS Monterey.


